Setup Laravel Application#
- We will be hosting the laravel application on AWS EC2. You can create an account with free tier access from here
- Navigate to AWS Console.
- Create an EC2 instance
- With t2.micro as the instance size
- Create a new key pair, if it does not exists
- With Debian as the AMI ( Can choose as per your needs ).
- Create a new security group or use existing ones
- ( Optional ) Create a security group seperate from the default one, so that it is easy to modify the inbound and outbound rules.
- Dont forget to add inbound rules for port 80, 443 in the security group that you are using.
- Click on launch instance
- Next we need to set a static ip for the instance so that its IP does not change when we stop and start the instance.
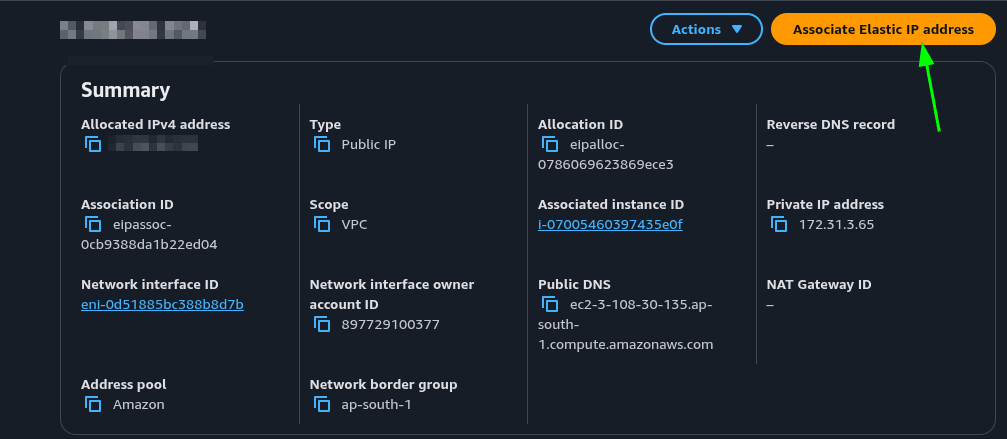
- Navigate to Elastic IP in EC2 section. Click on Allocate Elastic IP.
- After the IP is allocated, click on Associate IP address and choose the instance that you created earlier.
- Copy the IP address, go to your domain registrar where you have bought the domain and point a subdomin or the apex domain to this IP address
- Once the instance is launched, connect to it using your system’s terminal or EC2 instance connect
- Update the system using the following command
sudo apt update && sudo apt upgrade -y - Next we will install composer. It is a tool used for managing dependency, create projects in PHP
- Install composer using the following command
sudo apt install composer -y - Next we need to install apache. It is the web server that will serve the laravel application. Also we need to install additional php related packages
- Use the following command to do that
sudo apt install apache2 php-curl php-xml libapache2-mod-php php-cli php-mbstring php-bcmath php-tokenizer php-zip -y - After installing apache2 navigate to the /var/www/html directory
- Create a new project using the following command. If permission error occurs use sudo
composer create-project "laravel/laravel:^10.0" testapp - Here testapp is the name of the project, you can use any name you want
- Change the permissions of the testapp directory so that www-data user can access it.
sudo chown -R www-data:www-data /var/www/html/testapp sudo chmod -R 775 /var/www/html/testapp sudo chmod -R 775 /var/www/html/testapp/storage sudo chmod -R 775 /var/www/html/testapp/bootstrap/cache - Navigate to /etc/apache2/sites-available directory and create a new file with the following convention your-domain.conf
- Edit the file with the following content
<VirtualHost *:80> ServerName your-domain DocumentRoot /var/www/html/testapp/public <Directory /var/www/html/testapp> Options Indexes MultiViews FollowSymLinks AllowOverride All Require all granted </Directory> ErrorLog ${APACHE_LOG_DIR}/error.log CustomLog ${APACHE_LOG_DIR}/access.log combined </VirtualHost> - We have to enable the site using the following commands
sudo a2enmod rewrite
sudo a2enmod php8.2
sudo a2ensite your-domain
sudo systemctl restart apache2
Setup SSL for the Laravel application#
To setup ssl for the laravel application, we will use certbot
Install certbot and related packages using the following command
sudo apt install certbot python3-certbot-apache -yCreate the certificate using the following command
sudo certbot --apacheEnter your email when asked, agree to the terms, next agree if you are willing to share your email address
The tool will detect the domains that are configured and will let you choose the domain for which the certificate needs to be downloaded
Select the domain by entering the number corresponding to it
Certificate is installed successfully
With this we have hosted the laravel application with ssl using apache.


